Webhook
Potenzia le capacità di Zealy con le connessioni webhook.
Di louis, Fredrika, benjamin
In questa pagina
Un webhook di Zealy invia un HTTP POST a un URL da te scelto quando si verifica uno dei nove eventi della community, tra cui l'adesione di un membro, il successo o il fallimento della richiesta di una quest, l'avvio di uno sprint e il ban di un utente. Ogni payload contiene un id evento, un tipo, i dati, un timestamp in millisecondi e il segreto che prova l'autenticità della richiesta.
Nozioni di base
Zealy fornisce webhook che ti consentono di ricevere notifiche push HTTP ogni volta che dei dati vengono creati o aggiornati. Questo ti permette di creare integrazioni sopra Zealy. Puoi avviare build CI, eseguire calcoli sui dati delle quest o inviare messaggi in condizioni specifiche: hai solo l'imbarazzo della scelta.
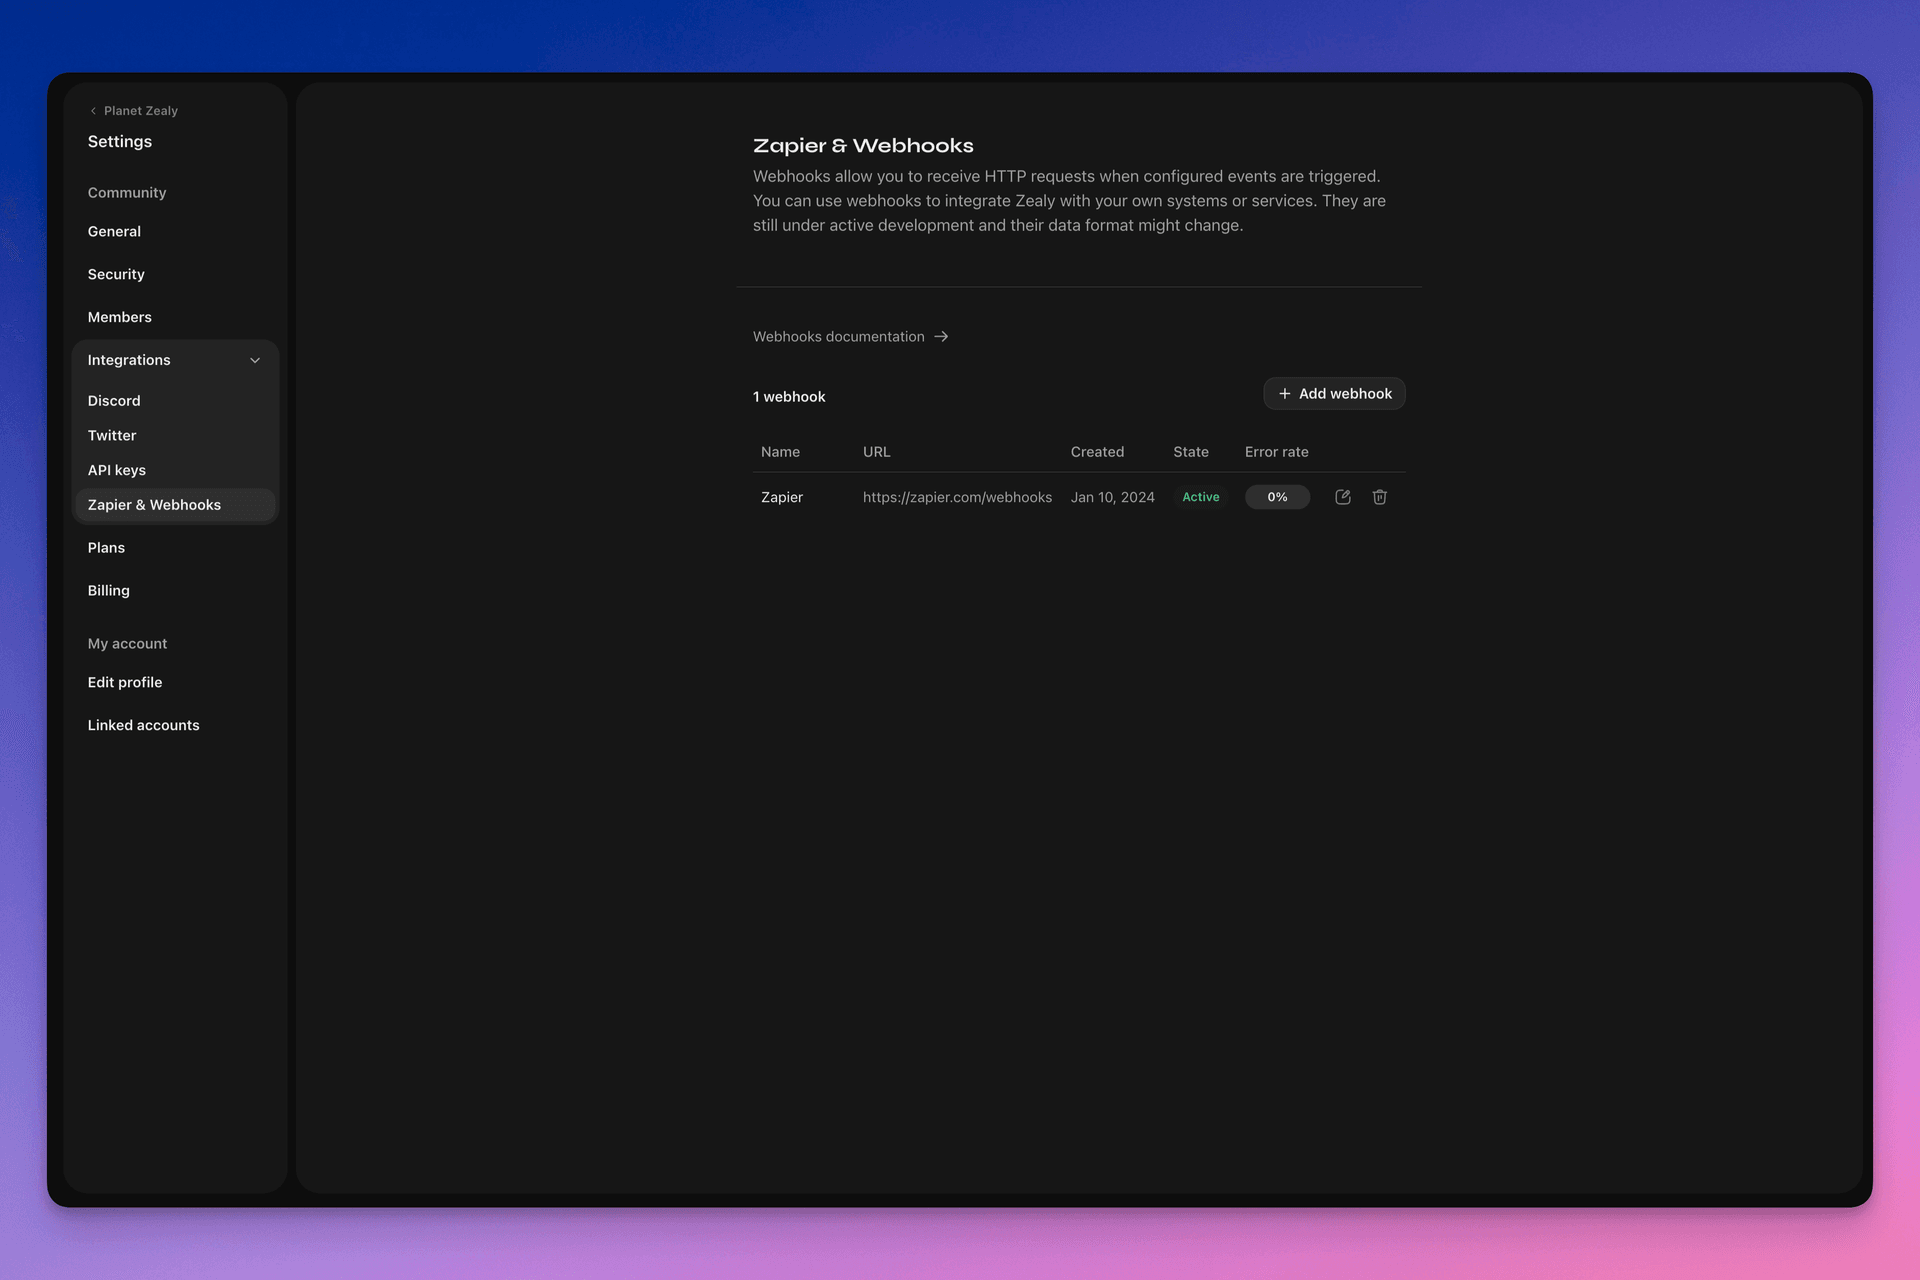
Visita Impostazioni > Integrazioni > Zapier e Webhook per configurare i tuoi webhook.
Come funziona un Webhook?
Un push Webhook è semplicemente una HTTP POST richiesta inviata all'URL che scegli. Il push viene attivato automaticamente da Linear quando i dati si aggiornano. Per un esempio dei dati contenuti in un payload, vedi Il payload del Webhook.
Il tuo consumer webhook è un semplice endpoint HTTP. Deve soddisfare le seguenti condizioni:
- È disponibile in un URL HTTPS accessibile pubblicamente e non localhost
- Risponderà al push del Webhook di Zealy (richiesta HTTP POST) con una
HTTP 200risposta ("OK")
Se una consegna non riesce (ad esempio server non disponibile, risposta impiegata più di 5 secondi, corpo della risposta più grande di 5000 byte o risposta con codice di stato HTTP diverso da 200), il push verrà ritentato 15 volte. Qui viene usato un ritardo con backoff esponenziale: il tentativo verrà ripetuto dopo circa 10 minuti, poi 30 minuti e così via. Se l'URL del webhook continua a non rispondere, il webhook potrebbe essere disabilitato da Zealy e dovrà essere riabilitato manualmente.
Per assicurarsi che un Webhook POST sia realmente creato da Zealy, generiamo un segreto casuale che verrà allegato al corpo della richiesta nel campo secret campo.
Per ulteriori informazioni sui Webhook, ci sono diverse buone risorse:
- RequestBin: Webhooks – La guida definitiva
- requestbin.com è un ottimo strumento per testare i webhook
- Guida per sviluppatori GitHub: Webhooks
Per cosa posso usarlo?
- Integra con Zapier
- Automatizza ricompense personalizzate
- Notifica su Telegram le quest in attesa di revisione
E molto, molto altro!
Iniziare con i Webhook di Zealy
- Identifica quali eventi vuoi monitorare.
- Sviluppa una funzione endpoint webhook per ricevere richieste POST con i dati degli eventi.
- Registra il tuo endpoint in Zealy usando la Webhooks Dashboard in Impostazioni > Integrazioni > Zapier & Webhooks.
- Proteggi il tuo endpoint webhook.
Creare un semplice consumer Webhook
Potresti considerare di usare qualcosa come Netlify Functions, che offre un modo semplice per distribuire endpoint HTTP(S) semplici: https://www.netlify.com/blog/2018/09/13/how-to-run-express.js-apps-with-netlify-functions/.
// server.js
//
// Use this sample code to handle webhook events in your integration.
//
// 1) Paste this code into a new file (server.js)
//
// 2) Install dependencies
//   npm install express
//
// 3) Run the server on http://localhost:4242
//   node server.js

// The library needs to be configured with your account's secret key.
// Ensure the key is kept out of any version control system you might be using.
const express = require('express');
const app = express();

// This is your Zealy webhook secret for testing your endpoint locally.
const endpointSecret = '5888a6800dbac634e52d8504f097e064';

app.post('/webhook', express.raw({ type: 'application/json' }), (request, response) => {
  const payload = req.body;
  // Does createdAt make more sense than time?
  const { id, type, data, time, secret } = payload;

  if (secret === endpointSecret) {
    // Do something neat with the data received!
  }

  // Return a 200 response to acknowledge receipt of the event
  response.send();
});

app.listen(4242, () => console.log('Running on port 4242'));
Configurazione nelle impostazioni
Configura il webhook e gli eventi che deve monitorare in Impostazioni > Integrazioni > Webhooks.
Il payload del Webhook
Il payload HTTP del webhook includerà informazioni sia nei suoi header HTTP sia nel corpo della richiesta.
Il payload verrà inviato con i seguenti header HTTP:
User-Agent: Zealy-Webhook
Content-Type: application/json; charset=utf-8
{
  id: string // unique ID for this event (UUID v4)
  type: "JOINED_COMMUNITY" | "LEFT_COMMUNITY" | "QUEST_SUCCEEDED" | "QUEST_CLAIMED" | "QUEST_FAILED" | "QUEST_CLAIM_STATUS_UPDATED" | "SPRINT_STARTED" | "SPRINT_ENDED" | "USER_BANNED", // event type
  data: EventData, // event data, see below
  time: number, // timestamp, in milliseconds
  secret: string, // secret generated when you created your webhook, used for checking origin
}
Campo EventData per evento:
// JOINED_COMMUNITY
type JoinedCommunityEventData = {
  community: WebhookCommunityPayload;
  user: WebhookUserPayload;
};

// LEFT_COMMUNITY
type LeftCommunityEventData = {
  community: WebhookCommunityPayload;
  user: WebhookUserPayload;
};

// QUEST_SUCCEEDED
type QuestSucceededEventData = {
  community: WebhookCommunityPayload;
  user: WebhookUserPayload;
  quest: WebhookQuestPayload;
  taskInputs?: Array<{
    taskId: string, // task ID (uuid v4)
    taskType: 'number' | 'date' | 'api' | 'text' | 'discord' | 'url' | 'telegram' | 'quiz' | 'invites' | 'visitLink' | 'file' | 'poll' | 'opinion' | 'twitterFollow' | 'twitterSpace' | 'tweetReact' | 'tweet',
    input: WebhookQuestTaskInputPayload,
  }>;
  status: 'success';
};

// QUEST_CLAIMED
type QuestClaimedEventData = {
  community: WebhookCommunityPayload;
  user: WebhookUserPayload;
  quest: WebhookQuestPayload;
  taskInputs?: Array<{
    taskId: string, // task ID (uuid v4)
    taskType: 'number' | 'date' | 'api' | 'text' | 'discord' | 'url' | 'telegram' | 'quiz' | 'invites' | 'visitLink' | 'file' | 'poll' | 'opinion' | 'twitterFollow' | 'twitterSpace' | 'tweetReact' | 'tweet',
    input: WebhookQuestTaskInputPayload,
  }>;
};

// QUEST_FAILED
type QuestFailedEventData = {
  community: WebhookCommunityPayload;
  user: WebhookUserPayload;
  quest: WebhookQuestPayload;
  taskInputs?: Array<{
    taskId: string, // task ID (uuid v4)
    taskType: 'number' | 'date' | 'api' | 'text' | 'discord' | 'url' | 'telegram' | 'quiz' | 'invites' | 'visitLink' | 'file' | 'poll' | 'opinion' | 'twitterFollow' | 'twitterSpace' | 'tweetReact' | 'tweet',
    input: WebhookQuestTaskInputPayload,
  }>;
};

// QUEST_CLAIM_STATUS_UPDATED
type QuestClaimStatusUpdatedEventData = {
  community: WebhookCommunityPayload;
  user: WebhookUserPayload;
  quest: WebhookQuestPayload;
  taskInputs?: Array<{
    taskId: string, // task ID (uuid v4)
    taskType: 'number' | 'date' | 'api' | 'text' | 'discord' | 'url' | 'telegram' | 'quiz' | 'invites' | 'visitLink' | 'file' | 'poll' | 'opinion' | 'twitterFollow' | 'twitterSpace' | 'tweetReact' | 'tweet',
    input: WebhookQuestTaskInputPayload,
  }>;
  status: 'success' | 'pending' | 'failed';
};

// SPRINT_STARTED
type SprintStartedEventData = {
  community: WebhookCommunityPayload;
  sprint: WebhookSprintPayload;
};

// SPRINT_ENDED
type SprintEndedEventData = {
  community: WebhookCommunityPayload;
  sprint: WebhookSprintPayload;
};

// USER_BANNED
type UserBannedEventData = {
  community: WebhookCommunityPayload;
  user: WebhookUserPayload;
};
Entità comuni:
type WebhookCommunityPayload = {
  id: string; // community ID (uuid V4)
  name: string; // community name
  subdomain: string; // community subdomain
  blockchain: string;
  discord: string | null; // discord URI of the community, e.g., https://discord.gg/zealy
  twitter: string | null; // twitter handle of the community, e.g., zealy_io
  website: string | null; // website URI of the community
};
type WebhookUserPayload = {
id: string; // user ID (uuid V4)
name: string | null; // user display name
twitter: {
id: string; // user twitter ID
username: string | null; // user twitter handle
} | null;
discord: {
id: string; // user discord ID
handle: string | null; // user discord handle
} | null;
email: string | null; // user email
addresses: Dict<string>; // key/value dictionary for wallets
verifiedAddresses: Dict<string>; // key/value dictionary for all users verified wallets
};type WebhookQuestPayload = {
id: string; // quest ID (uuid V4)
name: string; // quest display name
categoryId: string; // category ID (uuid V4)
categoryName: string | null; // category display name
xp: number | null; // XP reward
published: boolean | null; // true if quest is published, false otherwise
autoValidate: boolean | null;
tasks: TaskPayload[];
lastReviewerId: string; // user ID (uuid V4)
};type WebhookQuestTaskInputPayload =
| { } // for task type 'visitLink', 'invites', 'discord', 'telegram', 'twitterFollow', 'twitterSpace'
| { value: string } // for task type 'text', 'date', 'url', 'opinion'
| { value: number } // for task type 'number'
| { values: string[] } // for task type 'poll', 'quiz'
| { fileUrls: string[] } // for task type 'fileUrls'
| { tweetId?: string } // for task type 'tweetReact', 'tweet'
| { requestId: string, statusCode: number } // for task type 'api'type WebhookSprintPayload = {
id: string; // sprint ID (uuid V4)
startingAt: ISOString; // sprint starting date - https://developer.mozilla.org/en-US/docs/Web/JavaScript/Reference/Global_Objects/Date/toISOString
endingAt: ISOString; // sprint ending date
};Proteggere i webhook
La creazione di un webhook genererà un secret casuale che puoi usare per verificare che la richiesta provenga dai webhook di Zealy. Copia il secret in alto a destra nel pannello di ispezione del webhook e verifica che il secret impostato nel corpo della richiesta POST sia lo stesso.
Se il secret viene divulgato, puoi rigenerarlo dalla stessa pagina.

Test dei webhook
Dal pannello di ispezione del webhook puoi attivare manualmente un evento di test. Clicca il pulsante in alto a destra e seleziona ‘Invia evento di test’. Potrai selezionare un tipo di evento tra quelli monitorati. Verrà attivato un evento con dati fittizi e ne verrà mostrato lo stato.
Debug
Puoi vedere i log di tutti gli eventi passati attivati dal webhook cliccando sul webhook nella pagina Webhook. Filtrando per stato puoi usare i log per fare debug in caso di problemi. Per ogni evento puoi vedere il messaggio di errore ricevuto e la richiesta inviata.
Da questa pagina puoi anche riprovare qualsiasi evento.
